Portable Washing Machine Parts: Explained
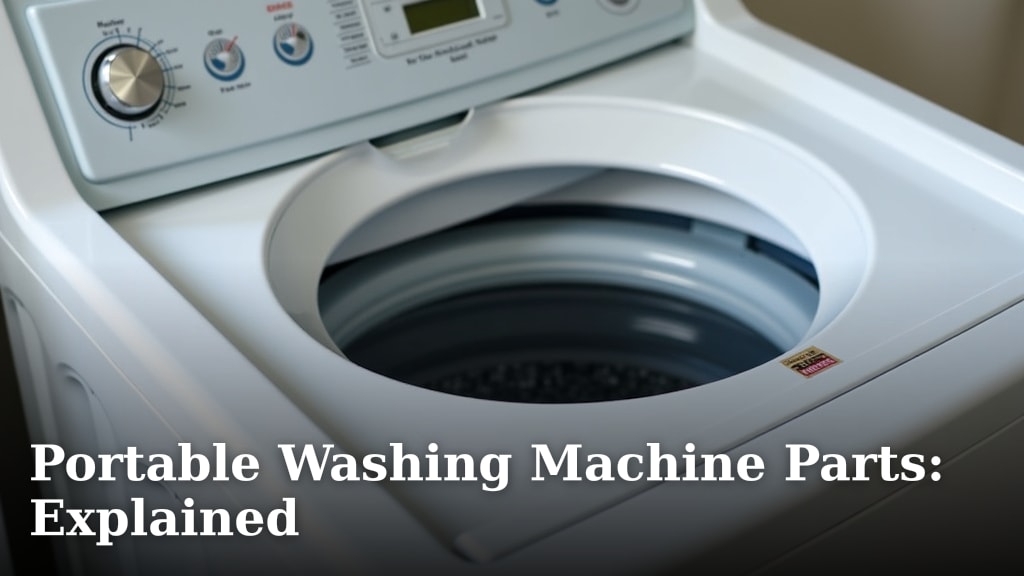
Portable washing machine parts are the individual components, like hoses, filters, and agitators, that make your compact washer clean clothes effectively. Understanding these pieces helps you fix problems and keep your machine running longer.
Knowing your washer’s parts is key to **simple maintenance** and quick fixes. We found that most common issues, from leaks to spin problems, often relate to a single, replaceable component. You don’t need to be a mechanic to handle this.
- Identify the key parts and their jobs in your portable washer.
- Learn which parts wear out and need regular checking.
- Find out how simple it is to clean or replace a filter or hose.
- Understand when a problem is a quick DIY fix or needs a pro.
Below, we break down each essential part and how it works, so you can confidently care for your appliance.
Key Parts of Your Portable Washing Machine Explained
Let’s dive into the specific components that make your compact washer work. We’ll cover where they are, what they do, and why they matter for your laundry routine.
External Connections and Hoses
These are the parts you see and touch most often. They are your washer’s lifeline to water and drainage.
The Water Inlet Hose
This hose connects your washer to the faucet. It’s usually a flexible, reinforced tube. You’ll screw one end onto the washer’s intake valve and the other onto a sink or tub faucet. A faulty inlet hose can cause leaks, so always check the washers (the rubber gaskets) inside the connectors. We found that many leaks start with a cracked or worn-out gasket.
Two Common Types
- Cold Water Only Hose: This is standard and typically white or gray. It connects to the cold water tap.
- Hot/Cold Adapter Hose: Some models have two inlet hoses for both hot and cold water. Ensure they are not crossed or kinked during setup.
A good rule is to hand-tighten the connection, then give it a quarter turn with pliers. Don’t over-tighten, or you can strip the threads.
The Drain Hose
This hose carries dirty water out of the machine. It often has a curved end that hooks over the edge of a sink or into a drain. If this hose gets clogged or kinked, water won’t leave the drum. That means your clothes will stay soaking wet. You can usually clear a blockage by disconnecting the hose and rinsing it with water. Many experts recommend checking this hose monthly (Consumer Reports).
Internal Wash and Rinse System
These are the heart of the washing action. They are inside the drum or tub.
The Agitator or Pulsator
This is the tall, finned post in the middle of the drum (agitator) or the flat, spinning plate at the bottom (pulsator). Its job is to move clothes around in the water. It creates the washing action by pushing and pulling fabrics. If your clothes aren’t getting clean, a damaged agitator or pulsator could be the issue. Think of it like the hand that stirs the pot, but for your laundry.
The Wash Tub (Inner Drum)
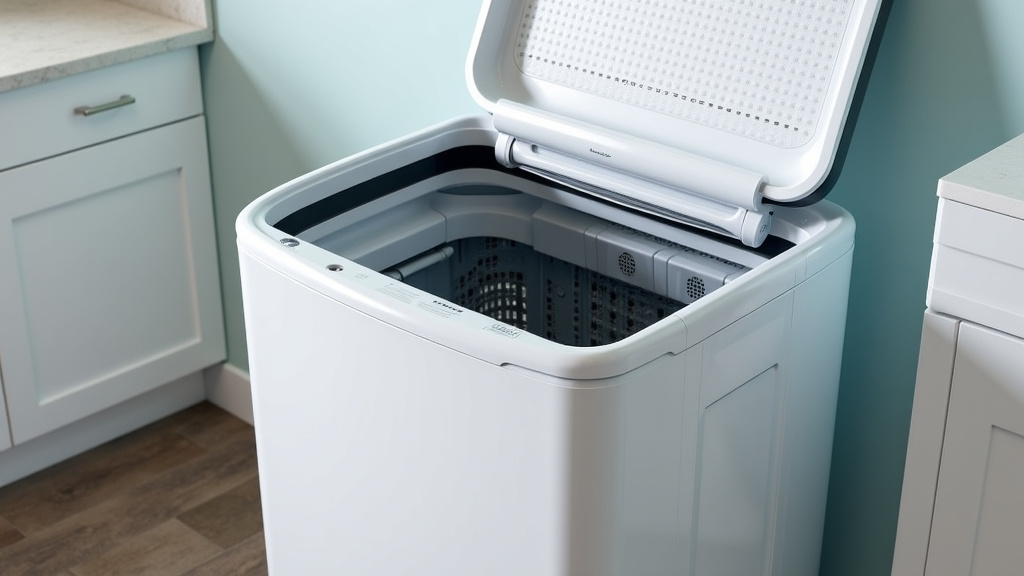
This is the main drum where you load your clothes. In most portables, it’s made of stainless steel or plastic. The drum has small holes that let water pass through. You might notice dark streaks inside the drum. That’s a buildup of detergent and grime. To clean it, you can run an empty hot cycle with a cleaner like white vinegar. We found this helps prevent odors and keeps the drum looking new.
Water and Drainage Control Parts
These parts manage the water flow inside the machine. They prevent backflow and ensure proper drainage.
The Inlet Valve
This is an electronic valve that opens to let water into the machine during the wash and rinse cycles. If the valve is faulty, the washer might not fill with water, or it might overfill. You’ll usually hear a clicking sound when it operates. A malfunctioning valve often needs replacement by a technician, but sometimes a simple cleaning of the screen filter can fix it.
The Drain Pump
This pump moves water out of the drum and through the drain hose. It activates at the end of the wash and rinse cycles. If you hear a loud humming or grinding noise, the pump might be struggling. Small items like coins or buttons can get caught in it. Always check pockets before loading clothes to prevent this.
Filters and Traps
Filters are the unsung heroes. They catch debris before it can cause damage. Keeping them clean is the simplest maintenance task you can do.
The Lint Filter
This filter catches lint, loose threads, and small fibers from your clothes. It’s often located inside the drum or near the pump. A clogged lint filter reduces washing efficiency and can strain the motor. It’s a good idea to clean this filter after every load. Simply pull it out, remove the lint, and rinse it.
How to Clean the Lint Filter
- Locate the filter. Check your user manual if you’re not sure.
- Remove it gently. Some twist off, others pop out.
- Peel away the collected lint with your fingers.
- Rinse under warm water to remove any residue.
- Let it dry before reinserting.
The Inlet Filter Screen
Small screens are inside the water inlet valves. They stop sediment and particles from the water supply from entering the machine. Over time, these screens can get clogged, leading to low water pressure. You can find them where the hoses connect. A soft brush can clear the debris. This is a very common fix for slow-filling washers (Home Depot).
Movement and Structural Parts
These parts help the washer move and stay stable during operation.
The Motor
This is the powerhouse that drives the agitator or drum. It’s usually located at the base. A failing motor might cause the drum to not spin or make strange noises. Repairing a motor often requires a professional. We found that most portable washer motors last several years with proper care, but they are sensitive to voltage surges.
The Tub Bearing
This bearing allows the inner drum to spin smoothly. When it wears out, you’ll hear a loud rumbling or grinding noise during the spin cycle. Replacing a bearing is a complex repair. It’s usually more cost-effective to buy a new machine if this part fails.
Control and Electrical Components
These parts let you tell the washer what to do. They are like the machine’s brain.
The Timer or Control Panel
This includes knobs, buttons, or a digital display. It sets the cycle length, water level, and wash settings. If buttons stop working, the issue might be a faulty control board. For simple timers, a gentle cleaning with a dry cloth is enough. Avoid using harsh chemicals.
Comparing Common Parts at a Glance
| Part | Location | Common Problem | Simple Fix? |
|---|---|---|---|
| Inlet Hose | Outside, connected to faucet | Leak from worn washer | Yes, replace gasket |
| Drain Hose | Outside, draining into sink | Clog or kink | Yes, clear blockage |
| Lint Filter | Inside drum or near pump | Clogged with debris | Yes, clean after each use |
| Agitator/Pulsator | Inside drum | Damaged or stuck | Often needs pro help |
| Inlet Valve | Inside, near hose connection | No water or overfilling | Sometimes, check screen |
This table gives you a quick reference for the most user-serviceable parts.
Your Maintenance Checklist
Keep this list handy. It covers the key tasks to prevent bigger problems later. Many appliance technicians recommend following a regular schedule to extend your machine’s life (GE Appliances).
- Check Hoses: Look for cracks, bulges, or leaks on inlet and drain hoses every month.
- Clean Filters: Empty the lint filter after every load. Rinse the inlet screen every few months.
- Wipe the Door/Gasket: Keep the rubber seal around the door clean to prevent mold.
- Use the Right Amount of Detergent: Too much suds can damage parts. Follow the label.
- Run a Cleaning Cycle: Once a month, run an empty hot cycle with vinegar or a washer cleaner.
- Inspect Hoses for Kinks: Ensure the drain hose is not bent, which can block water flow.
When to DIY and When to Call for Help
It’s smart to know your limits. Some fixes are easy. Others are not.
Great DIY Fixes
- Cleaning the lint filter and inlet screens.
- Replacing a leaky hose washer.
- Clearing a kinked drain hose.
- Wiping down the drum and gasket.
These tasks require basic tools and no special skills.
Best Left to a Professional
- Replacing the motor, pump, or tub bearing.
- Fixing a broken control board or timer.
- Dealing with electrical wiring issues.
Attempting complex repairs without knowledge can be dangerous. It can also void your warranty. We always suggest checking your warranty terms first.
Part Longevity and When to Replace
Most portable washing machine parts have a lifespan. Here’s what the data shows. According to general appliance guidelines, hoses should be replaced every 3-5 years, even if they look fine (Bob Vila). Seals and gaskets can last 5-10 years, depending on use. The motor and drum can last over 10 years with good care.
Listen to your machine. Unusual noises, leaks, or poor cleaning are signs. Don’t wait for a small issue to become a big one. A simple $5 gasket replacement can save you from a major water damage headache.
Understanding these parts is your first step. You now have the knowledge to keep your portable washer running smoothly. With a little attention, you can handle most small issues and enjoy fresh, clean clothes for years to come.
Conclusion
You’ve now seen the key parts inside and outside your portable washer, from simple hoses to the motor. You know which components need regular cleaning and which ones signal bigger trouble. This knowledge puts you in control of your appliance’s health. Most common fixes, like clearing a clogged filter or checking a hose gasket, are straightforward DIY tasks. You can save time and money by handling these yourself.
Your next step is simple: check your machine’s user manual. Locate the specific parts we discussed, like the lint filter and inlet screens. Perform a quick visual inspection this week. A small amount of preventative care now ensures your portable washer stays reliable for years.
Frequently Asked Questions
How do I find the model number for my portable washing machine parts?
The model number is usually on a sticker or plate on the back or side of your machine. You can also often find it inside the lid or door frame. Having this number is essential when you need to order the exact replacement part, like a specific hose or filter.
How often should I really replace the water inlet hoses?
Even if they look fine, industry experts recommend replacing rubber hoses every 3 to 5 years. They can develop internal weaknesses that lead to sudden, messy bursts. Consider upgrading to more durable stainless steel braided hoses for added safety and longer life.
My portable washer makes a loud grinding noise during the spin cycle. What part is likely failing?
A loud grinding or rumbling sound often points to a worn-out tub bearing. This is a complex internal part that allows the drum to spin smoothly. Unfortunately, this repair is usually costly and often means it’s time to consider a new machine.
Can I use any universal replacement hose for my portable washer?
It’s best to use the specific hose type recommended for your model. Most portables require a standard cold water hose with specific connectors. Using the wrong type can lead to leaks, poor water pressure, or even damage to the inlet valve.
Where is the most common place for a leak to start in a portable washer?
Most leaks originate at the connection points of the water inlet hose. The small rubber washers (gaskets) inside the hose fittings wear out first. Regularly inspect these gaskets for cracks and replace them at the first sign of wear to prevent water damage.