DIY Bucket Portable Washing Machine: Explained
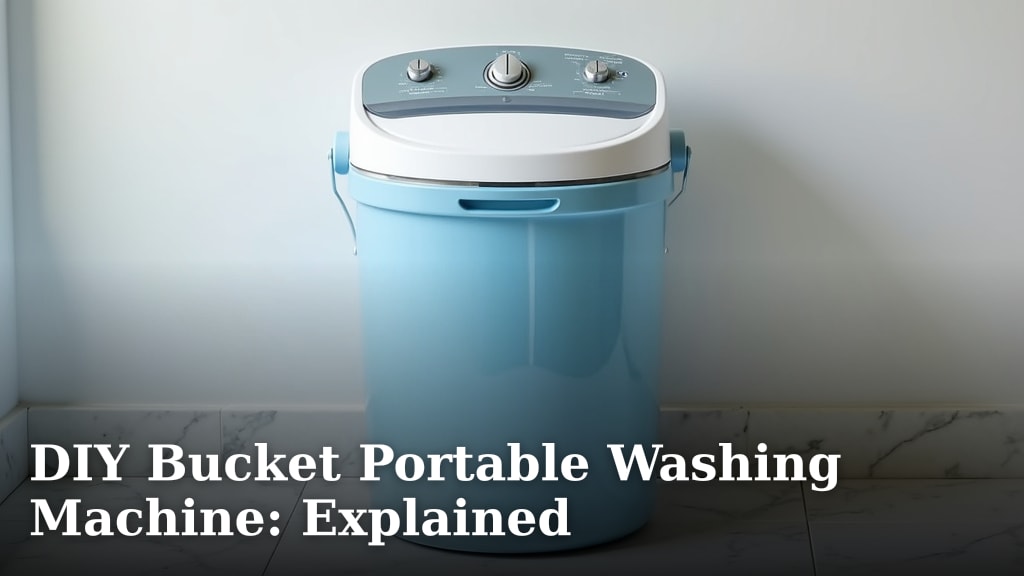
A DIY bucket portable washing machine is a simple, low-cost way to wash clothes without electricity. It uses manual effort to agitate clothes in a bucket filled with water and soap. You can create one using basic supplies like a bucket, a plunger, and some common tools. This method is a great option for camping, small living spaces, or emergencies when a traditional machine isn’t available.
This homemade laundry solution offers a practical alternative to full-sized machines. It’s surprisingly effective for small loads and delicate items. Many people find it a resourceful way to manage laundry when space or power is limited. Think of it as a basic, hands-on approach to clean clothes.
- It’s a manual washing solution.
- Uses a bucket and a plunger.
- Great for small loads and camping.
- Saves electricity and space.
- Very affordable to make.
Let’s walk through exactly how you can build and use your own DIY bucket portable washing machine step by step.
Building Your Own Manual Clothes Washer
So, you’re looking for a way to wash clothes without plugging anything in? A DIY bucket washing machine is your answer. It’s a clever, hands-on method that uses simple mechanics. Think of it as a personal, portable laundry system. You can tackle small loads of laundry effectively. This is especially handy when you’re away from home or facing a power outage.
What You’ll Need: The Basic Ingredients
Gathering your supplies is the first step. You won’t need much, and most items are easy to find. Having everything ready makes the building process smooth. You’re looking for basic household items that you might already own.
Essential Components
The core of your machine is a sturdy bucket. A five-gallon bucket is ideal. It’s large enough for a decent load but still manageable. You’ll also need a toilet plunger. Yes, a regular toilet plunger! We’ll be using it to agitate the clothes. Make sure it’s a clean one, of course. We’re washing clothes, not cleaning toilets here!
Tools for Assembly
You’ll need a few basic tools to put it all together. A drill with a few different-sized bits is necessary. You might also want a utility knife or a strong pair of scissors. A marker will help you measure and mark. Safety glasses are a good idea when drilling.
Optional Additions for Efficiency
While not strictly necessary, a few additions can make your bucket washer even better. Some people add a lid that fits tightly. This helps prevent splashes. A small hand pump can also be useful for draining the water. We’ll cover these as we go.
Assembling Your Bucket Washing Machine: Step-by-Step
Let’s get down to building this thing. It’s a straightforward process that doesn’t require advanced skills. You’ll be surprised how quickly you can have it ready to go.
Preparing the Bucket and Plunger
The most important modification happens to the plunger. We need to create a way for water to flow through it. This helps agitate the clothes more effectively.
Modifying the Plunger Head
Take your clean plunger. Using your drill, make several holes in the rubber cup of the plunger. Aim for holes about half an inch in diameter. You want enough holes so water can easily pass through. Space them out evenly. This ensures good water movement and agitation. Some people drill as many as 15-20 holes.
Ensuring a Tight Seal (Optional but Recommended)
If you have a bucket with a lid, that’s great. If not, you might consider adding one. A tight-fitting lid is important. It keeps water from splashing out while you’re working the plunger. You can often find lids that fit standard five-gallon buckets at hardware stores. It makes the whole process much tidier.
Putting It All Together
Now, let’s combine the plunger and the bucket. This part is very simple.
Connecting the Plunger to the Lid (Optional Method)
Some people drill a hole in the center of the bucket lid. Then, they insert the plunger handle through this hole. The plunger head stays inside the bucket. This method keeps the plunger attached to the lid. It can make plunging more ergonomic. Make sure the handle is secure. You don’t want it wobbling around.
The Simple Plunge Method (No Lid Modification)
Alternatively, you can simply use the plunger without attaching it to the lid. Just place the plunger head into the water and clothes. You hold the handle and move it up and down. This is the most basic setup. It requires no modification to the lid at all. This is a great option if you want to get started right away.
How to Use Your DIY Washer Effectively
Now that you’ve built it, let’s talk about how to use it. It’s not much different from a regular washing machine, just more hands-on.
Loading and Washing Cycle
Start by filling the bucket with water. Use warm or cold water, depending on your needs. Add your laundry detergent. You don’t need much – a tablespoon or two is often enough. We found that too much soap creates excessive suds.
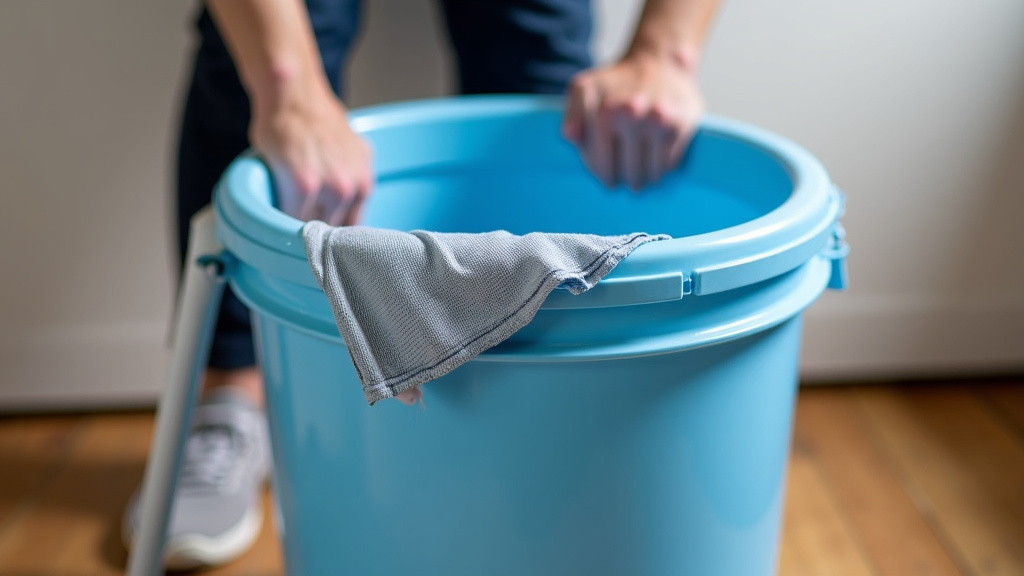
Next, add your clothes. Don’t overload the bucket. You need enough space for the clothes to move freely. About half to two-thirds full is usually a good starting point. Submerge the clothes in the soapy water.
Now, use the plunger. Move it up and down vigorously through the clothes. The holes in the plunger head help create a washing action. You’re essentially mimicking a traditional washing machine’s agitator. Do this for about 5-10 minutes. You’ll see the dirt lifting from the clothes. It’s surprisingly effective!
Rinsing and Draining
Once you’ve finished the wash cycle, it’s time to rinse. Drain the soapy water from the bucket. You can do this by tipping the bucket carefully or using a small hand pump if you have one.
Refill the bucket with clean water. Agitate the clothes again with the plunger for a few minutes to rinse out the soap. You might need to repeat this rinsing step a couple of times. You want to ensure all the soap is gone. Proper rinsing prevents detergent residue on your clothes. Many laundry experts recommend at least two rinse cycles for best results (American Cleaning Institute).
Spinning and Drying
After rinsing, you need to remove excess water. You can manually wring out the clothes. For larger items, like towels, you can even twist them firmly. This removes a lot of the water.
Then, hang your clothes to dry. You can use a clothesline, a drying rack, or even just find suitable spots to hang them. Since you’ve removed most of the water, they should dry relatively quickly. This method is great for delicates too, as it’s gentler than a machine spin cycle.
Tips for Optimal Performance and Care
A few extra tips can help you get the most out of your DIY washer and keep it in good shape.
Maintaining Your Bucket Washer
After each use, rinse out the bucket and plunger thoroughly. Let everything air dry completely before storing. This prevents mold and mildew. Store it in a clean, dry place. It’s a simple system, but a little care goes a long way.
When to Use This Method
This DIY bucket washing machine shines in specific situations. It’s perfect for camping trips where power is unavailable. It’s also a lifesaver during RV travel or in small apartments with limited space. And in emergencies, like a power outage or a broken washing machine, it’s an absolute lifesaver.
We found that it works best for small loads. Trying to wash too many items at once makes the plunging difficult and less effective. It’s also great for delicate items that you want to handle gently. Think of it as a specialized tool, not a replacement for a large-capacity washing machine.
A Quick Checklist for Success
Here’s a quick rundown to ensure you’re ready to go:
- Gather your sturdy bucket and clean plunger.
- Drill holes in the plunger head for water flow.
- Decide if you’ll modify a lid for the plunger handle.
- Fill with water and detergent – don’t overfill.
- Plunge vigorously for 5-10 minutes for washing.
- Rinse thoroughly with clean water.
Conclusion
You’ve now learned how to build and use your own DIY bucket portable washing machine. It’s a straightforward, affordable way to tackle laundry without electricity. By using a simple bucket and plunger, you can effectively wash small loads and delicates. Remember to maintain your washer by rinsing and drying it after each use. Learn how long a portable washing machine typically lasts and how to care for it.
Ready to give it a try? Gather your supplies and set up your manual washer today for your next adventure or unexpected need!
Frequently Asked Questions
How many clothes can I wash in a DIY bucket washing machine?
This method is best for small loads. We found that washing 1-3 items at a time works most effectively. Overloading makes agitation difficult and less thorough. It’s ideal for a few t-shirts, a pair of pants, or a few undergarments.
What type of detergent works best?
You can use most regular laundry detergents, but less is more. We recommend using about one to two tablespoons of liquid or powder detergent. Too much soap can create excessive suds, making rinsing harder and potentially leaving residue on your clothes.
Is a DIY bucket washer good for heavy fabrics like jeans?
While it can handle jeans, it will require more effort. For heavy fabrics, you might need to plunge for longer periods and ensure the bucket isn’t too full. It’s generally better suited for lighter clothing and delicates where agitation is less strenuous.
How do I prevent the plunger handle from getting wet and messy?
The easiest way to keep the handle clean is to attach the plunger to a modified lid. Drill a hole in the center of a five-gallon bucket lid, insert the plunger handle, and secure it. This keeps the plunger head submerged while your hands stay dry.
Can I use this for more than just clothes?
Yes, you can use your DIY bucket washer for other small fabric items. It works well for washing socks, dish rags, or even delicate undergarments that you want to handle gently. Just ensure you rinse thoroughly afterward.